So you’ve discovered what specialty coffee is and fallen in love with those incredible flavors.
Now you’re wondering: how do I make this magic happen in my own kitchen?
Great news—brewing specialty coffee at home is totally achievable, and I’m here to walk you through every step.
As a barista, I’ve spent years, especially lately, perfecting the craft of coffee brewing. Today, I’m sharing all my secrets so you can make café-quality coffee without leaving your house.
Ready to level up your coffee game? Let’s dive in.
Why Brewing Method Matters for Specialty Coffee
Here’s the truth: you can buy the most expensive, highest-scoring specialty coffee beans in the world, but if you brew them incorrectly, you’re wasting your money.
Specialty coffee is all about highlighting the unique characteristics of each bean—those fruity notes, chocolatey undertones, or floral aromas.
Your brewing method is the bridge between potential and perfection.
Think of it like cooking with premium ingredients. You wouldn’t throw a wagyu steak in the microwave, right? The same principle applies to specialty coffee beans.
The good news? Once you understand the fundamentals, brewing great coffee becomes second nature.
Suggested reads
- What is Cold Brew Coffee Concentrate?
- How to Brew Coffee Without a Coffee Maker
- How to Make the Best Coffee in a Percolator
- How to Bloom Coffee for Pour Over, French Press and Drip Brewing
The Five Essential Elements of Brewing Specialty Coffee
Before we get into specific methods, let’s talk about the five elements that affect every cup of coffee you’ll ever make.
Master these, and you’ll be brewing better coffee than 90% of cafés out there.
1. Coffee-to-Water Ratio

This is your foundation.
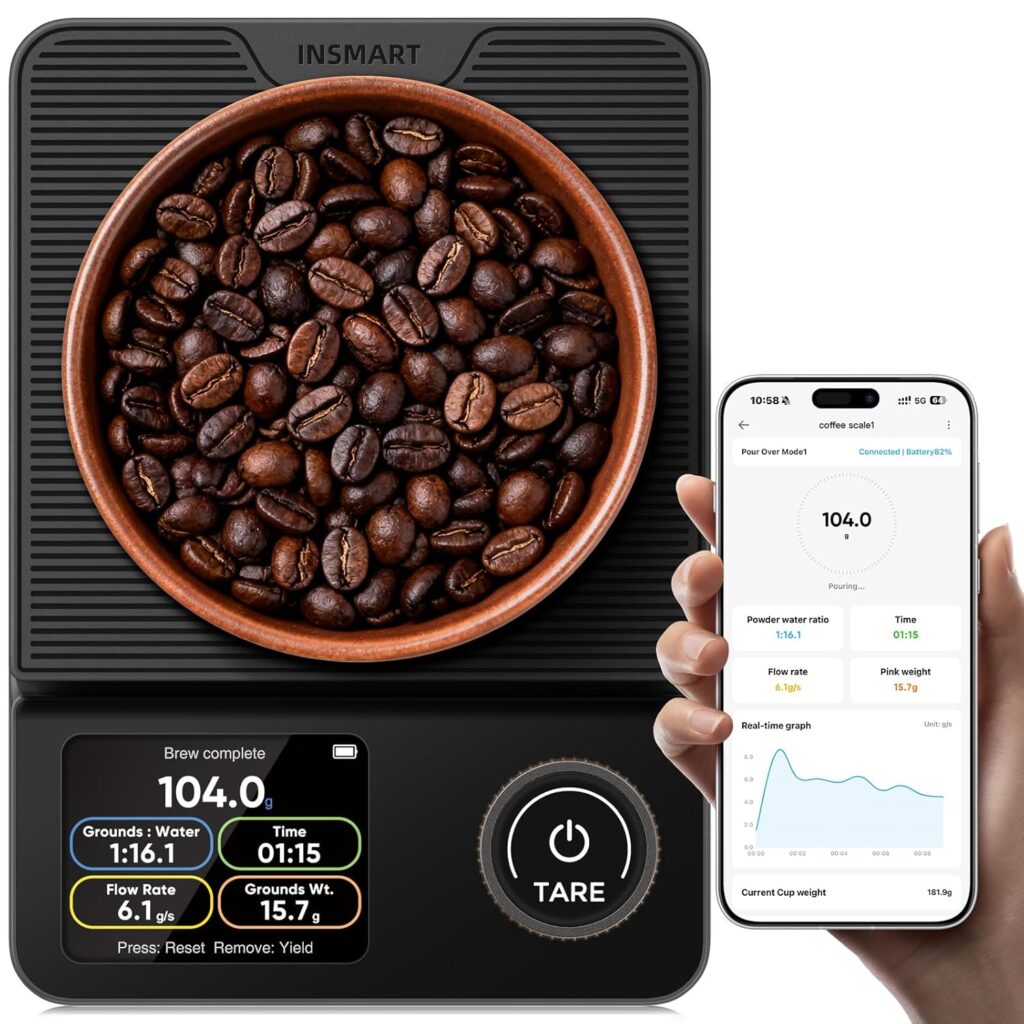
The standard ratio for specialty coffee is 1:16—that’s 1 gram of coffee for every 16 grams of water.
For a typical 12-ounce cup, that’s about 22 grams of coffee to 350 grams of water.
Want it stronger? Try 1:15. Prefer it milder? Go for 1:17.
But here’s the key: be consistent. Use a digital scale (pictured above☝) every single time. Eyeballing it will give you inconsistent results, and consistency is everything when you’re learning.
2. Water Temperature
Water temperature is crucial for proper extraction.
Too hot (above 205°F), and you’ll over-extract, pulling out bitter compounds.
Too cold (below 195°F), and you’ll under-extract, resulting in sour, weak coffee.
The sweet spot for brewing specialty coffee at home is 195-205°F (90-96°C).
Most electric kettles with temperature control make this easy. If you don’t have one, just bring water to a boil and let it sit for 30-45 seconds.
Pro tip: Different origins and roast levels sometimes prefer different temperatures. Ethiopian light roasts often shine at 203-205°F, while darker roasts do well at 195-200°F.
3. Grind Size
Your grind size determines how quickly water extracts flavor from your coffee.
Fine grinds = more surface area = faster extraction.
Coarse grinds = less surface area = slower extraction.
Each brewing method has an ideal grind size:
- Espresso: Very fine (like table salt)
- Pour-over: Medium-fine (like sand)
- Drip coffee maker: Medium (like kosher salt)
- French press: Coarse (like breadcrumbs)
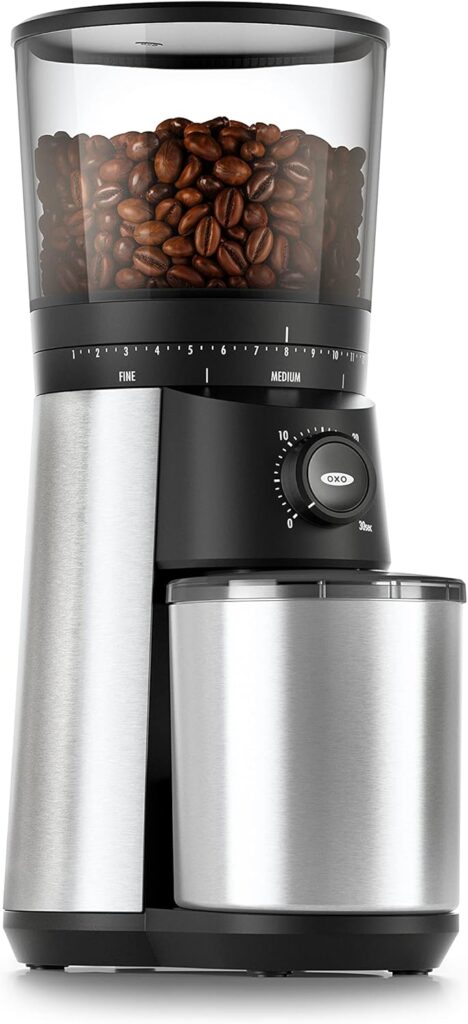
Here’s where investing in a good burr grinder changes everything. Blade grinders create inconsistent particle sizes, leading to simultaneous over- and under-extraction. Not ideal.
Burr grinders (pictured above) give you uniform particles, which means even extraction and better-tasting coffee.
4. Water Quality
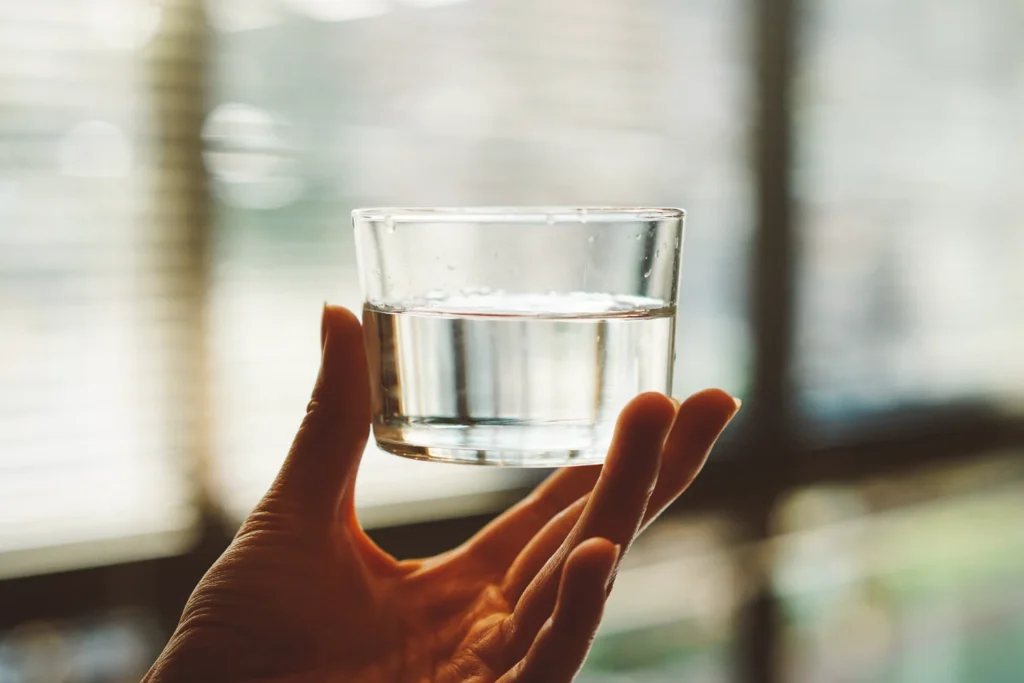
Your coffee is 98% water.
If your water tastes bad, your coffee will taste bad. It’s that simple.
Use filtered water whenever possible. Avoid distilled water (it’s too “empty” and can’t extract properly) and avoid heavily mineralized water (it interferes with extraction).
The ideal water for brewing specialty coffee has a balanced mineral content—around 150 TDS (total dissolved solids).
Most home filters, like Brita, work perfectly fine for this.
5. Freshness
Specialty coffee is best within 2-4 weeks of roasting.
Always check the roast date (not the “best by” date) when buying specialty coffee bags.
Once you open the bag, store your beans in an airtight container away from light, heat, and moisture.
Don’t freeze them. Don’t refrigerate them. Just keep them sealed in a cool, dark cupboard.
And always grind right before brewing. Pre-ground coffee starts losing flavor within minutes of grinding.
The Best Methods for Brewing Specialty Coffee at Home
Now let’s get into the actual brewing methods.
I’ll cover four popular techniques that work beautifully with specialty coffee beans.
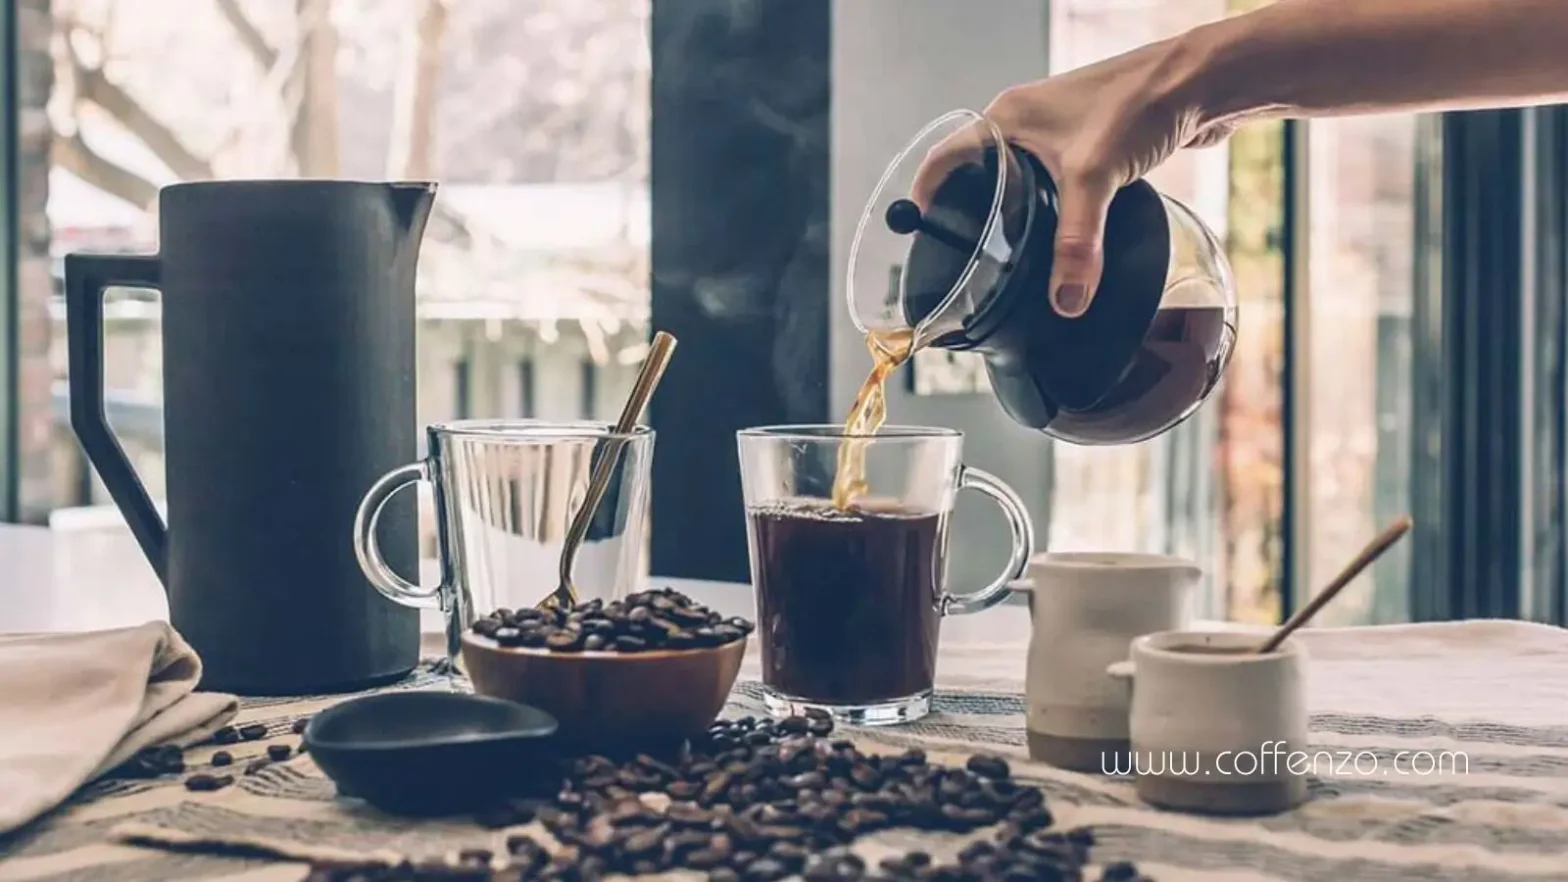
Pour-Over Method (My Personal Favorite)
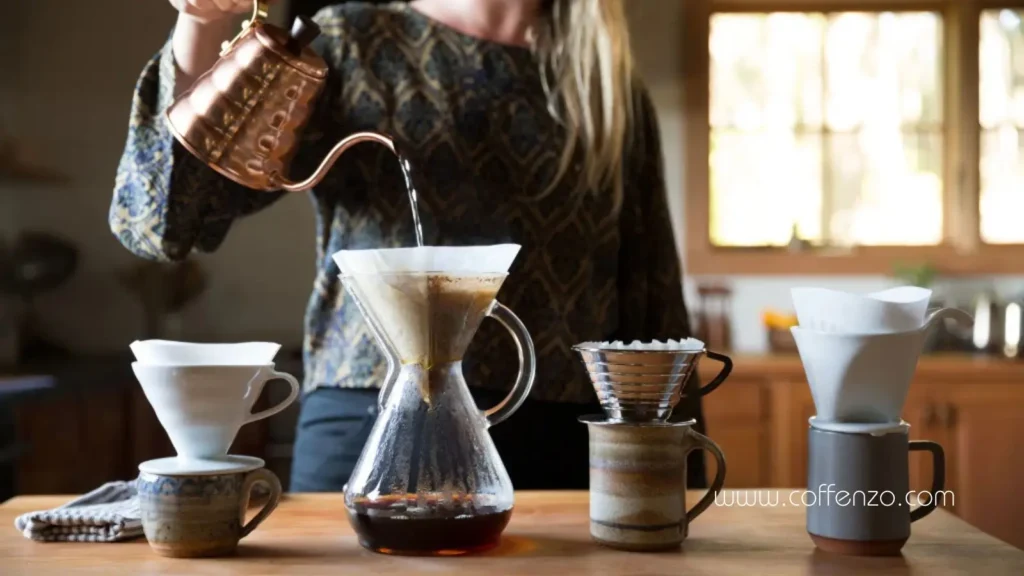
The pour-over gives you complete control over the brewing process, which is perfect for showcasing specialty coffee.
What You Need
- Pour-over dripper (V60, Chemex, Kalita Wave)
- Paper filters
- Gooseneck kettle
- Digital scale
- Timer
- Fresh specialty coffee beans
Step-by-Step Process
- Measure and Grind: Weigh 22g of specialty coffee beans. Grind to medium-fine (slightly finer than table salt).
- Prep Your Filter: Place the filter in your dripper and rinse it with hot water. This removes paper taste and preheats your equipment.
Discard the rinse water. - Add Coffee: Put your ground coffee in the filter and give it a gentle shake to level the bed.
- Bloom Phase: Start your timer. Pour 40-50g of water (about twice the coffee weight) in a spiral motion, making sure all grounds are saturated. Let it sit for 30-45 seconds. This releases CO2 and allows for better extraction.
- Main Pour: After the bloom, pour water in slow, steady circles, keeping the water level consistent. Pour to 350g total over about 2.5-3 minutes.
- Let it Drain: Allow the coffee to finish dripping. Total brew time should be 3-4 minutes.
- Enjoy: Remove the dripper and give your coffee a gentle swirl before drinking.
Pro Tips
- Pour in a spiral motion from the center outward
- Keep your pour steady—no stopping and starting
- The finer your grind, the slower the water drains
- If brew time is too fast (under 2.5 minutes), grind finer
- If brew time is too slow (over 4 minutes), grind coarser
French Press Method
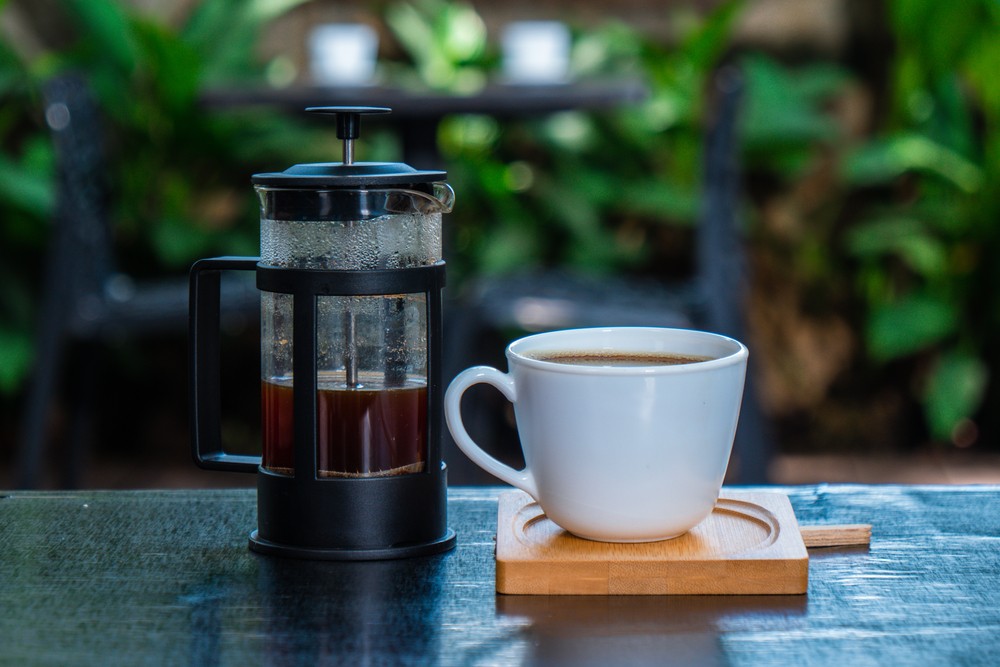
The French press is forgiving and produces a full-bodied cup with great clarity.
What You Need
- French press
- Digital scale
- Kettle
- Coarse grind specialty coffee
Step-by-Step Process
- Measure and Grind: Use 30g of coffee for a standard 500ml (17oz) French press. Grind coarse—think breadcrumbs.
- Preheat: Pour hot water into your French press to warm it, then discard.
- Add Coffee and Water: Add your ground coffee, then pour 500g of hot water (195-205°F). Start your timer.
- Stir: Give it a gentle stir with a wooden spoon or chopstick to ensure all grounds are saturated.
- Steep: Place the lid on with the plunger pulled all the way up. Let it steep for 4 minutes.
- Plunge: Slowly press the plunger down with steady, even pressure. This should take about 20-30 seconds.
- Pour Immediately: Pour all the coffee into your cup. Leaving it in the French press continues the extraction and makes it bitter.
Pro Tips
- Don’t press down too hard—you’ll agitate the grounds
- If your coffee tastes muddy, your grind might be too fine
- For cleaner cups, try the “James Hoffmann method” with a longer steep and aggressive stir
AeroPress Method
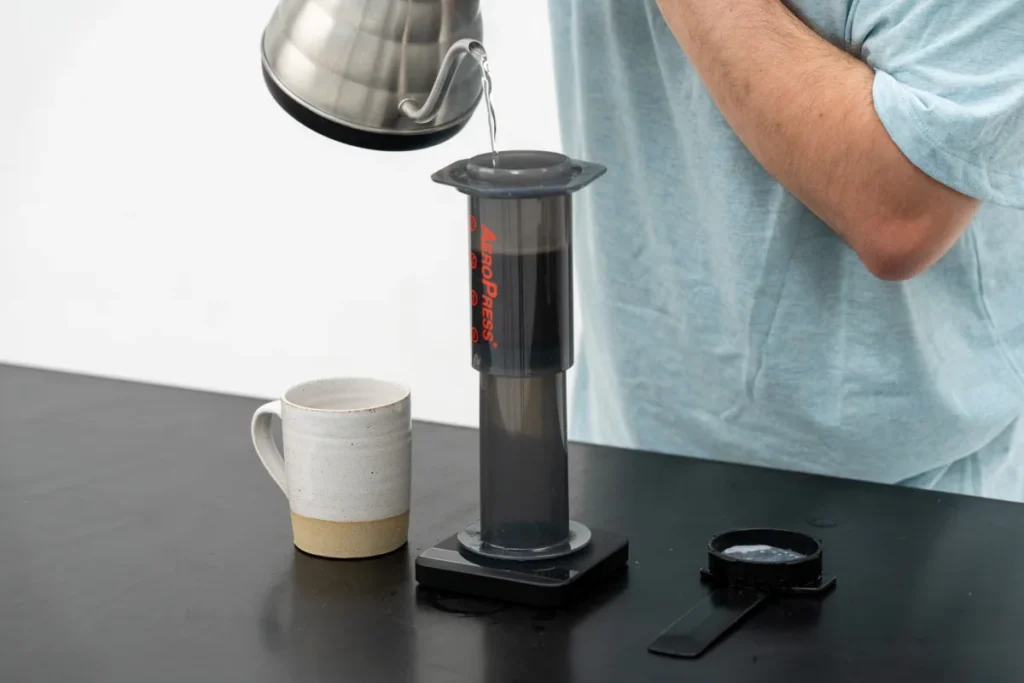
The AeroPress is incredibly versatile and perfect for experimenting.
What You Need
- AeroPress
- Paper or metal filters
- Digital scale
- Kettle
Step-by-Step Process (Standard Method)
- Set Up: Place a filter in the cap and rinse with hot water. Attach to the brew chamber.
- Measure and Grind: Use 15-17g of coffee, ground medium-fine.
- Add Coffee: Put the AeroPress on your scale with the chamber inverted (upside down). Add your ground coffee.
- Add Water: Pour 250g of water at 195-205°F. Start your timer.
- Stir: Stir gently for 10 seconds.
- Steep: Let it steep for 1-2 minutes total.
- Flip and Press: Carefully flip the AeroPress onto your cup. Press down steadily for 20-30 seconds.
- Dilute (Optional): If too strong, add 50-100g of hot water to taste.
Pro Tips
- Experiment with the inverted vs. the standard method
- Try different steep times (anywhere from 1-4 minutes works)
- The AeroPress is nearly impossible to mess up—it’s very forgiving
Drip Coffee Maker
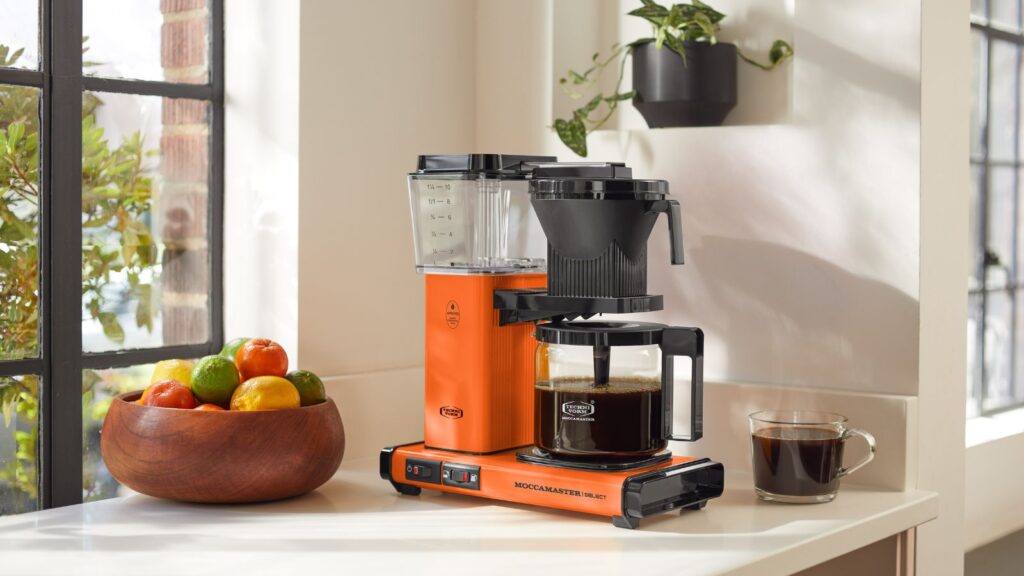
Yes, you can absolutely brew great specialty coffee in a drip machine!
What You Need
- Quality SCAA-certified drip coffee maker (pictured above)
- Paper filters
- Fresh specialty coffee beans
Must Read: Breville Precision Brewer Thermal Coffee Maker
Step-by-Step Process
- Use Fresh Coffee: This is non-negotiable. Pre-ground coffee won’t cut it.
- Measure: Use 60g of coffee for a full 1-liter pot (adjust proportionally).
- Grind Medium: Grind your specialty coffee beans to medium consistency.
- Use a Filter: Always use fresh paper filters.
- Add Water: Fill with filtered water.
- Brew: Press start and let the machine do its thing.
- Serve Immediately: Don’t let coffee sit on the hot plate for more than 20 minutes—transfer to an insulated carafe.
Pro Tips
- Look for machines that brew at 195-205°F (many cheap machines don’t get hot enough)
- The SCAA certification ensures proper temperature and contact time
- Even with a drip machine, freshly ground beans make a huge difference
Common Mistakes When Brewing Specialty Coffee at Home
Let me save you from the mistakes I see all the time.
Mistake #1: Using Old Coffee
Specialty coffee loses its magic after about a month. That bag you bought six months ago? It’s not going to taste special anymore.
Mistake #2: Not Using a Scale
Scoops and eyeballing are inconsistent. Get a digital scale. It’ll change your coffee life.
Mistake #3: Boiling Water
Boiling water (212°F) is too hot. It burns the coffee and extracts bitter compounds. Let it cool to 195-205°F.
Mistake #4: Wrong Grind Size
Using French press grind in a pour-over (or vice versa) is a recipe for bad coffee. Match your grind to your method.
Mistake #5: Dirty Equipment
Coffee oils go rancid. Clean your brewer, grinder, and equipment regularly with proper cleaners.
Mistake #6: Brewing Too Much at Once
Coffee tastes best fresh. Brew only what you’ll drink in the next 30 minutes.
Mistake #7: Ignoring the Bloom
The bloom phase (that initial 30-45 second soak) is crucial for degassing. Skipping it leads to uneven extraction.
Advanced Tips for Better Specialty Coffee at Home
Once you’ve mastered the basics, try these advanced techniques.
Dial in Your Coffee
Every specialty coffee is different. When you get a new bag:
- Start with standard parameters
- Taste critically
- Adjust one variable at a time
- Keep notes on what works
Is it sour? It’s under-extracted—try grinding finer, using hotter water, or brewing longer.
Is it bitter? It’s over-extracted—try grinding coarser, using cooler water, or brewing shorter.
Try Different Brew Ratios
Don’t be locked into 1:16. Some coffees shine at 1:15 (stronger), others at 1:17 (more delicate).
Experiment to find what you like.
Explore Single Origin vs. Blends
Single-origin specialty coffees showcase specific terroir and processing methods.
Blends are designed for balance and consistency.
Both have their place. Try different origins from Ethiopia, Colombia, Kenya, Brazil, and Guatemala to discover your preferences.
Consider the Roast Level
Light roasts preserve origin character and acidity.
Medium roasts balance origin character with sweetness.
Dark roasts emphasize body and roasted flavors.
Match your brewing method to the roast: light roasts often need slightly higher temperatures and finer grinds.
Equipment Worth Investing In
You don’t need to spend thousands, but a few key tools make a huge difference.
Must-Haves
- Burr Grinder ($50-$250): The single most important purchase. Start with Baratza Encore or similar.
- Digital Scale ($15-30): Accuracy to 0.1g is ideal.
- Gooseneck Kettle ($50-$200): Essential for pour-over control.
- Quality Brewer ($40-$150): V60, Chemex, AeroPress, or French press.
Nice-to-Haves
- Temperature-Controlled Kettle ($80-$250): Takes the guesswork out.
- Better Grinder ($200-400): Baratza Virtuoso, Fellow Ode, or Wilfa Svart.
- Espresso Setup ($800+): Only if you’re really committed.
Start simple and upgrade as your palate develops.
Creating Your Perfect Morning Routine
Brewing specialty coffee at home should be enjoyable, not stressful.
Here’s how to build a sustainable routine:
- Prep the Night Before: Fill your kettle, set out your equipment.
- Grind Fresh: Always grind immediately before brewing.
- Follow Your Process: Stick to your method while you’re learning.
- Taste Mindfully: Actually pay attention to what you’re drinking.
- Adjust Gradually: Make small changes based on taste.
The ritual of brewing coffee can be meditative. Embrace it.
Troubleshooting Common Issues
“My coffee tastes sour and weak.”
Under-extraction. Try: grinding finer, using hotter water, or increasing brew time.
“My coffee tastes bitter and harsh.”
Over-extraction. Try: grinding coarser, using cooler water, or decreasing brew time.
“My coffee has no flavor.”
Likely stale beans or too-coarse grind. Check your roast date and grind finer.
“My coffee tastes muddy.”
Your grind is too fine for your brewing method, or you’re over-agitating.
“Every cup tastes different.”
Inconsistent measurements. Use a scale and record your parameters.
Where to Buy Specialty Coffee Beans
Quality beans are the foundation of great coffee.
Look for:
- Clear roast dates (within the last 2-4 weeks)
- Origin information
- Tasting notes
- Ethical sourcing information
At CoffENZO, we source our specialty coffee beans directly from farmers and roast them fresh. Every bag includes detailed information about origin, processing, and optimal brewing methods.
Shopping local also means you can ask your barista for brewing advice specific to each coffee.
Final Thoughts: Your Journey Starts Here
Learning how to brew specialty coffee at home is a journey, not a destination.
Your first cups might not be perfect, and that’s completely okay.
The beautiful thing about specialty coffee is that there’s always more to discover—new origins, new processing methods, new brewing techniques.
Start with the basics I’ve outlined here. Get comfortable with one brewing method before trying others. Pay attention to what you taste and enjoy the process of continuous improvement.
And remember: the best coffee is the coffee you enjoy drinking.
Don’t get so caught up in perfection that you forget to actually savor your cup.
At CoffeNZO, we’re here to support your home brewing journey. Visit us for fresh specialty coffee beans, equipment recommendations, and personalized brewing advice.
Your best cup of CoffENZO is waiting to be brewed.
Let’s make it happen together.
Frequently Asked Questions
Q: What equipment do I absolutely need to brew specialty coffee at home?
A: At minimum: a burr grinder, digital scale, kettle, and brewing device (pour-over, French press, or AeroPress). You can get started for under $100 total.
Q: Can I brew specialty coffee in a regular drip machine?
A: Yes! Use freshly ground beans, proper ratios (60g per liter), and filtered water. SCAA-certified machines work best as they maintain proper temperature.
Q: How long does specialty coffee stay fresh after roasting?
A: Specialty coffee is best within 2-4 weeks of roasting. After opening, store beans in an airtight container and use within 2 weeks for optimal flavor.
Q: What’s the difference between light, medium, and dark roast specialty coffee?
A: Light roasts preserve original character and acidity. Medium roasts balance origin flavors with sweetness. Dark roasts emphasize body and roasted notes. All can be high-quality specialty coffee.
Q: Should I grind my coffee beans right before brewing?
A: Always. Ground coffee loses flavor rapidly due to oxidation. Grind immediately before brewing for the best taste.
Q: What water temperature should I use for brewing specialty coffee?
A: The ideal range is 195-205°F (90-96°C). Lighter roasts often prefer the higher end (203-205°F), while darker roasts work well at the lower end (195-200°F).
Q: How much coffee should I use per cup?
A: The standard ratio is 1:16 (1g coffee to 16g water). For a 12oz cup, use 22g of coffee to 350g of water. Adjust to taste: 1:15 for stronger, 1:17 for milder.
Q: Why does my coffee taste different every time I brew it?
A: Inconsistent measurements are usually the culprit. Use a scale for both coffee and water. Also, ensure consistent grind size, water temperature, and brew time.
Did you love the tips for brewing amazing specialty coffee at home? Let me know in the comment section, or if you have a question, do not hesitate to drop us an email via the address that’s on our Contact page. Also, follow us on Pinterest for stunning pins and more updates.
Related posts:
Blonde Espresso: Caffeine Content and Why You Should Try It
Tuesday April 14, 2026What is Espresso Tamping? All You Need to Know to Draw a Perfect Shot
Wednesday February 18, 2026What is Specialty Coffee? Know Why It's the World's Premium Coffee
Saturday February 14, 2026How to Brew Coffee Without a Coffee Maker: 4 Methods to Make Coffee Anywhere
Sunday January 18, 2026How to Bloom Coffee for Pour-Over, French Press, and Drip Brewing
Thursday January 22, 2026Black Coffee vs Americano: Understanding the Real Difference
Saturday January 31, 2026Macchiato vs Cortado: Which Bold Little Espresso Drink Actually Wins?
Tuesday March 17, 2026Organic vs Non Organic Coffee: Similarities and Striking Differences
Wednesday January 28, 2026Cortado vs Cappuccino: What's the Real Difference?
Thursday March 19, 2026
Hi,
I’m Wycléf NY, a certified barista with 6 years of experience (as of December 2025).
I started this website to share my coffee preparation insights with aspiring coffee enthusiasts and interact with fellow baristas.
Let’s catch up over a cup of iced Coffénzo coffee or shoot me a quick short message text (sms) at ny@coffenzo.com