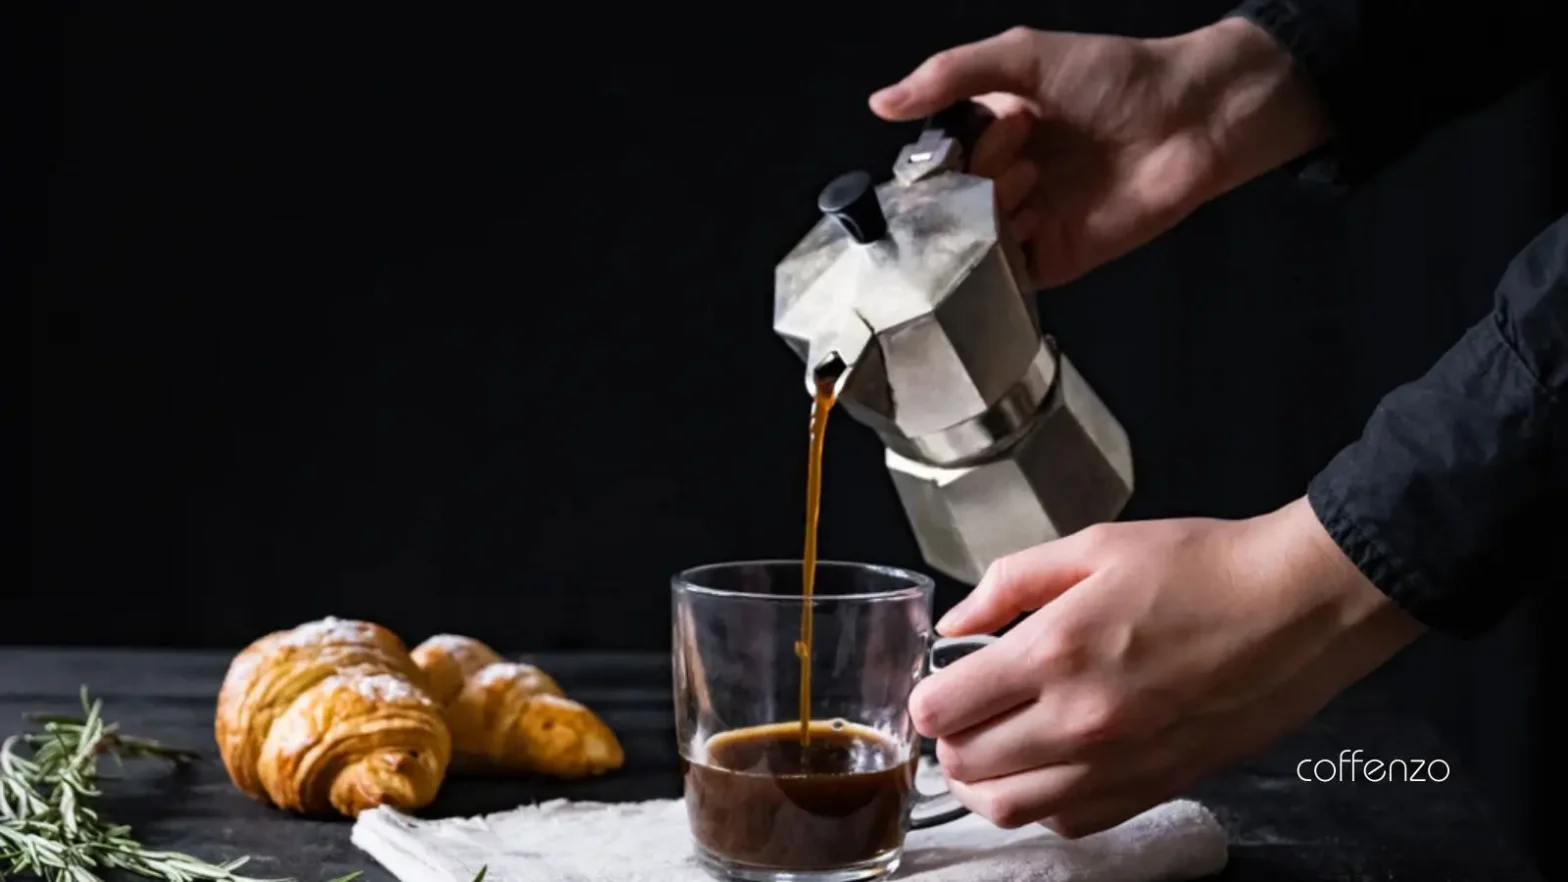
A percolator has an undeserved reputation for producing bitter, over-extracted coffee. This reputation stems not from any inherent flaw in the method, but from a widespread misunderstanding of how percolation actually works. When you understand the thermal dynamics at play and control the variables that matter, a percolator can produce coffee with remarkable body, complexity, and aromatic depth that rivals any brewing method. It is with this curiosity that I have decided to share with you the information on how to make the best coffee in a percolator.
Percolator Coffee Recipe
Ingredients:
- 2.6-2.8 ounces (75-80 grams) coarsely ground coffee
- 9 cups (about 67.5 ounces or 2 liters) cold, filtered water
Equipment:
- 9-cup stovetop or electric percolator
- Coffee grinder (for fresh grinding)
- Heat source (stovetop burner or electrical outlet)
Brew Time: 12-17 minutes total (5-7 minutes to first percolation + 7-10 minutes brewing)
Coffee-to-Water Ratio: 1:15 (1 gram of coffee to 15 grams of water)
Grind Size: Coarse (similar to breadcrumbs or coarse sea salt)
A Step-by-Step Guide on How to Make the Best Coffee in a Percolator
Step 1: Fill the percolator with cold, filtered water to just below where the basket will sit (typically to the fill line or about ½ inch below the basket bottom).
Step 2: Grind your coffee beans to a coarse grind, similar to breadcrumbs or coarse sea salt. Aim for 2.6-2.8 ounces (75-80 grams) of coffee for a 9-cup percolator, maintaining a 1:15 coffee-to-water ratio.
Step 3: Place the coffee grounds in the percolator basket, filling it no more than two-thirds full. Insert the basket assembly into the percolator and secure the lid.
Step 4: Place the percolator on your heat source set to medium-low (about 4 out of 10 on most stovetops). For electric percolators, use a lower temperature setting if available.
Step 5: Wait 5-7 minutes until you see the first liquid bubble up into the glass knob. The moment you see percolation begin, reduce the heat immediately.
Step 6: Adjust heat to maintain a gentle percolation rate of one bubble every 2-3 seconds. This slow, steady pace is critical for proper extraction.
Step 7: Watch the color in the glass knob progress from pale tan to deep caramel brown. Monitor both color and time—you’re aiming for 7-10 minutes of total brew time from first percolation.
Step 8: When the liquid reaches a rich, dark caramel color and you’ve reached the 7-10 minute mark, immediately remove the percolator from the heat.
Step 9: Carefully remove the basket and grounds from the percolator right away to prevent continued extraction and bitterness.
Step 10: Let the coffee settle for 30-60 seconds, then pour and enjoy immediately for the best flavor.
Now that you have the step-by-step guide on how to make the best coffee in a percolator, it is time to go into the details of how to master coffee brewing using a percolator.
Related: How to Bloom Coffee Like a Pro (Step-by-Step Guide)
Why Percolators Make Great Coffee
Percolators use a unique brewing process that cycles hot water through coffee grounds multiple times. This repeated extraction creates a bolder, more intense flavor profile. The method allows you to control strength like no other brewing technique.
The constant circulation also means your coffee stays hot throughout the brewing process. Unlike pour-over methods, there’s no temperature drop. This consistency helps extract the full range of flavors from your beans.
Many coffee enthusiasts appreciate the ritualistic aspect of percolator brewing. Watching the coffee bubble up through the glass knob is part of the experience. It’s a throwback to simpler times that still delivers exceptional results.
Understanding Percolator Mechanics
Before we discuss the technique, you need to understand what’s happening inside your percolator. As water in the bottom chamber heats, it’s forced up through a hollow stem and sprayed over the coffee grounds in the upper basket. This brewed coffee then drips back down into the water chamber, creating a continuous cycle.
Unlike pour-over or drip methods, where water passes through grounds once, percolation involves multiple passes of increasingly coffee-saturated water through the same grounds.
This is both the method’s strength and its potential weakness. Multiple extractions can pull out deeper, more complex flavor compounds that single-pass methods miss.
However, if you allow this process to continue too long or at too high a temperature, you’ll extract bitter tannins and harsh compounds that overwhelm the desirable flavors. The expert percolator user walks this line with precision.
Selecting Your Equipment
Not all percolators are created equal. To help you find the right percolator, we have done a nice article on the best small coffee percolator for home or business use.
Let’s get back to the topic…⬇
Stovetop models offer superior control over heat application, which is the single most important variable in percolator brewing. Electric percolators are convenient, but many maintain temperatures that are too high for optimal extraction.
If you’re using an electric model, look for one with adjustable temperature settings or at least a “keep warm” function that you can switch to during brewing.
The percolator’s size matters for heat distribution and timing. An 8-12 cup model is ideal for most users, providing enough thermal mass for stable brewing without the challenges of heating large volumes evenly. The glass knob on top isn’t just decorative—it’s your primary feedback mechanism for monitoring brew progress, so ensure it’s clear and provides good visibility
Common Mistakes to Avoid
The biggest mistake is using too fine a grind. Fine coffee particles seep through the basket and cloud your brew. They also contribute to over-extraction and bitterness.
Letting your percolator boil too vigorously ruins the coffee’s flavor. High heat causes harsh, burnt-tasting coffee. Always reduce to gentle percolation once it starts bubbling.
Over-brewing is another common pitfall. Percolating for more than 10 minutes creates an unpleasantly strong, bitter cup. Set a timer to track your brewing time accurately.
Cleaning and Maintaining Your Percolator

Percolators develop coffee oil residue that turns rancid and affects flavor. After each use, disassemble the percolator completely and wash all parts with hot, soapy water. Pay special attention to the stem tube, which accumulates oils that are difficult to see but significantly impact taste.
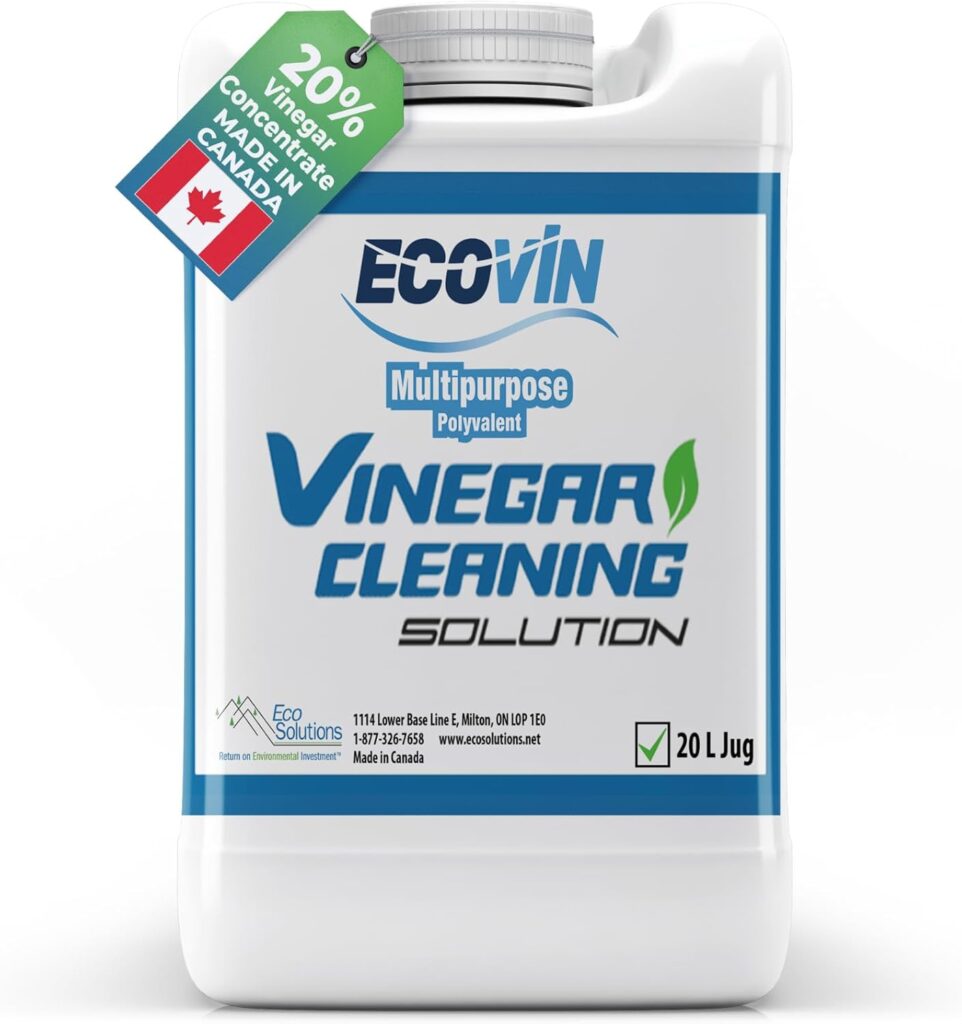
Weekly, run a cleaning cycle with a percolator cleaning solution or a mixture of water and white vinegar (1:1 ratio). Percolate this solution for a full cycle, then run two cycles with plain water to rinse completely. This removes mineral deposits and embedded oils that regular washing misses.
Related: Best Liquid Descaler for Coffee Machines
Troubleshooting Common Issues
If your coffee tastes weak, you either used too little coffee, percolated too briefly, or your heat was insufficient to maintain steady percolation. If it tastes bitter, you over-extracted due to too much time, too much heat, or too fine a grind.
The other thing to be watchful about is the grounds in your coffee. If present, they indicate either too fine a grind or an overfilled basket. The basket should be no more than two-thirds full to allow proper water circulation. Sediments at the bottom of your cup is normal with percolator coffee—the method doesn’t filter as finely as paper filters.
Expert Tips for Perfect Results

Preheat your water before adding it to the percolator for faster, more even brewing. This reduces the time coffee grounds sit in water before proper extraction begins. It also helps maintain optimal brewing temperature throughout.
You also need to experiment with coffee-to-water ratios until you find your sweet spot. Some senior baristas I have talked to prefer a milder 1:18 ratio, while others love a bolder 1:12. Keep notes on what works best for your palate.
Clean your percolator thoroughly after each use to prevent old coffee oils from tainting fresh brews. You can do this by disassembling all parts and washing them with hot, soapy water. A monthly deep clean with vinegar keeps everything pristine.
Consider the origin and roast level of your coffee beans when learning how to make the best coffee in a percolator. Medium to medium-dark roasts typically perform best. They have enough body to stand up to the brewing method without becoming too bitter.
Frequently Asked Questions
Q: How long should coffee percolate?
A: Coffee should percolate gently for 7-10 minutes for optimal flavor. Start checking at the 7-minute mark by observing the color through the glass knob. Shorter brewing times produce weaker coffee, while exceeding 10 minutes can lead to bitterness and over-extraction.
Q: Can you use regular ground coffee in a percolator?
A: Regular pre-ground coffee is often too fine for percolators and will seep through the filter basket. You need coarsely ground coffee, similar to the texture of sea salt. If you only have regular ground coffee, pulse whole beans in a grinder for just a few seconds to achieve a coarser grind.
Q: Why does my percolator coffee taste bitter?
A: Bitter percolator coffee usually results from over-extraction caused by brewing too long, using too fine a grind, or boiling too vigorously. Make sure your percolation is gentle, not a rolling boil. Reduce your brewing time and check that you’re using coarse grounds to solve the problem.
Q: What’s the best coffee-to-water ratio for a percolator?
A: A good starting point is one tablespoon of coarsely ground coffee per cup of water. This roughly equals a 1:15 coffee-to-water ratio. Adjust based on your taste preferences—use more coffee for a stronger brew or less for a milder cup.
Conclusion
Mastering how to make the best coffee in a percolator takes practice, but the results are worth the effort. Start with quality beans, use the right grind size, and control your heat for gentle percolation. Avoid common mistakes like over-brewing or using fine grounds.
With these techniques, you’ll brew coffee that rivals any café. The rich, full-bodied flavor of percolator coffee is truly special. Give it a try and rediscover this time-honored brewing method.
Related posts:
How to Brew Coffee Without a Coffee Maker: 4 Methods to Make Coffee Anywhere
Sunday January 18, 2026Hario V60 Dripper Filters: What They Are and How to Use Them Properly
Saturday March 21, 2026Coffee to Water Ratio: The Secret to Brewing a Perfect Cup
Sunday May 17, 2026How to Bloom Coffee for Pour-Over, French Press, and Drip Brewing
Thursday January 22, 2026How to Make Coffee Less Bitter: 10 Simple Tricks That Actually Work
Friday February 20, 2026How Much Coffee Grounds Per Cup of Water?
Monday May 18, 2026How to Grind Coffee Beans: A Complete Beginner-to-Pro Guide
Tuesday January 6, 2026How Many Scoops of Coffee Per Cup? The Perfect Coffee to Water Ratio
Wednesday May 13, 2026
Hi,
I’m Wycléf NY, a certified barista with 6 years of experience (as of December 2025).
I started this website to share my coffee preparation insights with aspiring coffee enthusiasts and interact with fellow baristas.
Let’s catch up over a cup of iced Coffénzo coffee or shoot me a quick short message text (sms) at ny@coffenzo.com